
It’s important to communicate to children the authenticity of Jesus, and His authority in our lives. This was something that even His own disciples sometimes had difficulty understanding. After the resurrection, Jesus appeared to His followers, but He still had to explain God’s plan to them. In a way, He also had to prove who He was, that it was really the Messiah and not merely a ghost or vision. Jesus proved His identity and his power to remind the apostles of the task ahead of them. These crafts celebrate the appearance of Jesus in Luke 24. A handmade jigsaw puzzle reminds us of the “big picture puzzle” that came together in Christ. An “identification badge” reminds us of our identity in Him. And a “peace plate” reflects the way Jesus brought peace in mind and spirit.

More Teaching Ideas:
- Compare our full Sunday School Lesson on Luke 24:36-49
- See the Road to Emmaus lesson plan on Sunday School Works
- Watch the video demonstration of this kids’ sermon or the related craft ideas
- Compare another Bible Lesson about Jesus on the Road to Emmaus
Verses or Captions to Consider…
As they were talking about these things, Jesus himself stood among them, and said to them, “Peace to you!” – Luke 24:36
See my hands and my feet, that it is I myself. Touch me, and see. For a spirit does not have flesh and bones as you see that I have. -Luke 24:39
Saved by the wounds of Jesus…grace through faith!

Peace be with you! Jesus gives me comfort
Jesus brings peace!
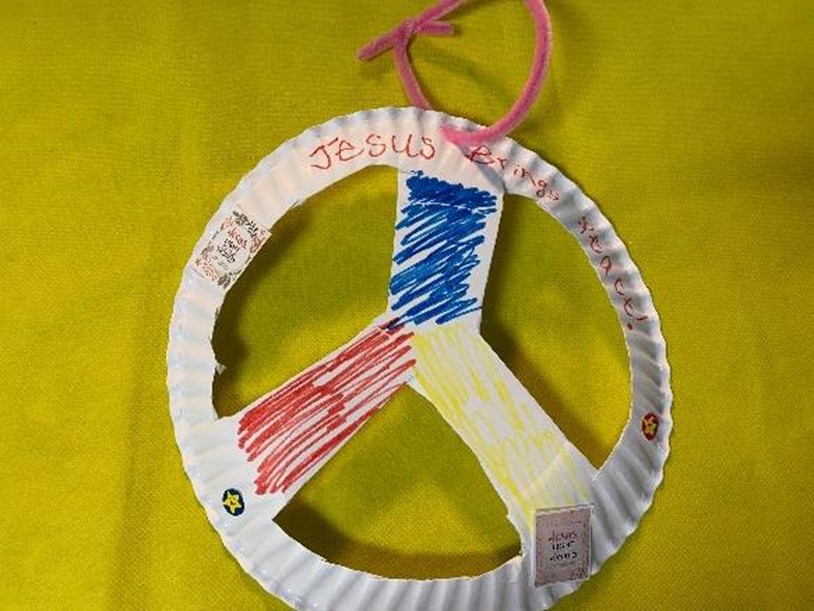
Craft one: “Peace Plate” Decoration
You will need:
- Scissors
- Paper Plates
- Markers or decorating materials
- Glue or tape
- Hole punch
- Pipe cleaners or string
- Stickers, decorations, etc.
Procedure:
- Draw a peace sign symbol on one side of the paper plate.
- Decorate the plate with color, verses, stickers, and other decorations.
- Carefully cut the inner elements of the peace sign out of the plate to form a 3-D image.
- Attach a pipe cleaner to hang the plate and remember that Jesus brings us peace!
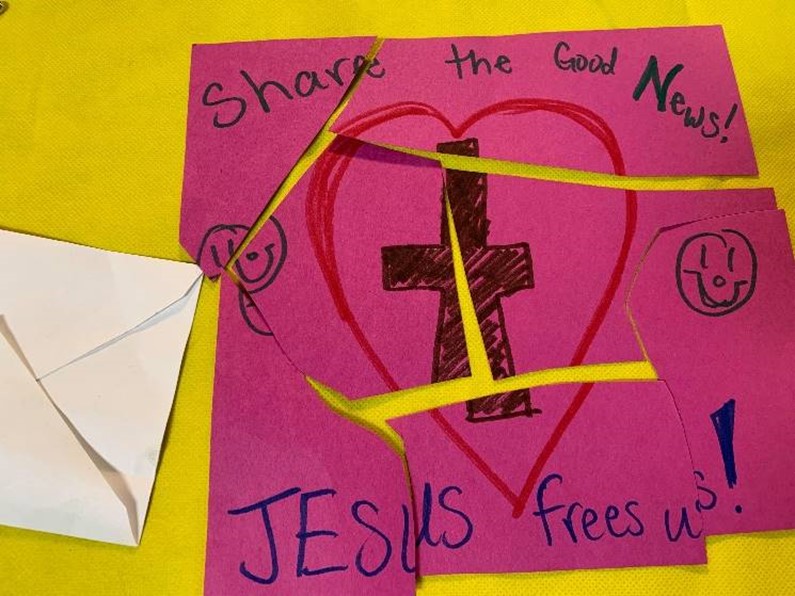
Craft Two: “Homemade Jigsaw Puzzle”
You will need:
- Construction Paper or cardstock
- Cardboard backing (optional)
- Glue or tape
- Markers, crayons, or colored pencils
- Scissors
- Envelopes or Ziploc bags
- Stickers or extra decorations
Procedure:
1. Use paper or cardstock to draw a picture of your choice.
2. Decorate with pictures, stickers, captions, or verses.
3. If desired, use glue to attach to a more sturdy piece of cardboard or paper.
4. Cut the picture into pieces to create the “puzzle” element.
5. Place the puzzle in an envelope or bag. Shuffle the pieces and place together as a puzzle.
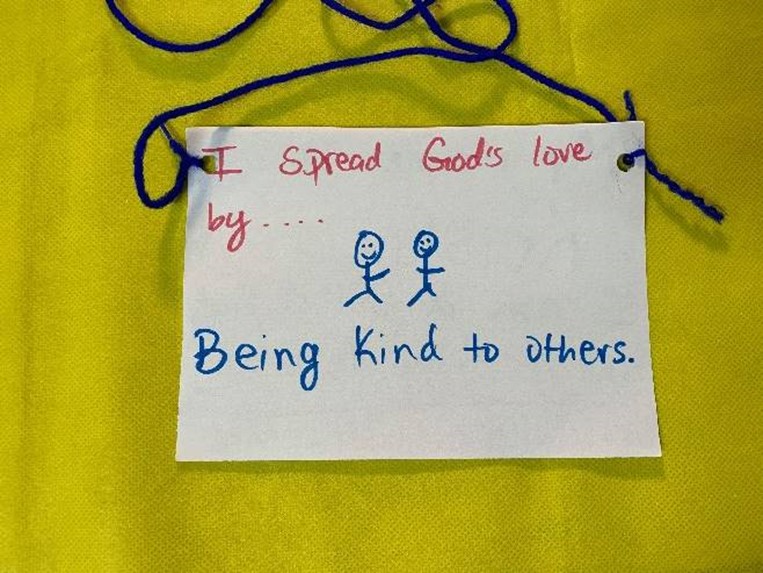
Craft Three: “Identification Badge” (or Necklace)
You will need:
- Construction Paper or cardstock
- Stickers, stencils, or other decoration
- Markers or crayons
- Scissors
- Pipe cleaners or string
Procedure:
1. Select the size preferred for your “identification” (necklace or nametag/badge). Cut paper or card stock accordingly.
2. Decorate the card with student names, captions, verses, pictures, and stickers.
3. Use the backside of the nametag to describe a way of sharing God’s love.
4. If desired, enhance by laminating the badge to make it look more “official.”
5. To make a necklace, place hole punches in the paper and attach string. For a badge, secure a safety pin or clip on the back.