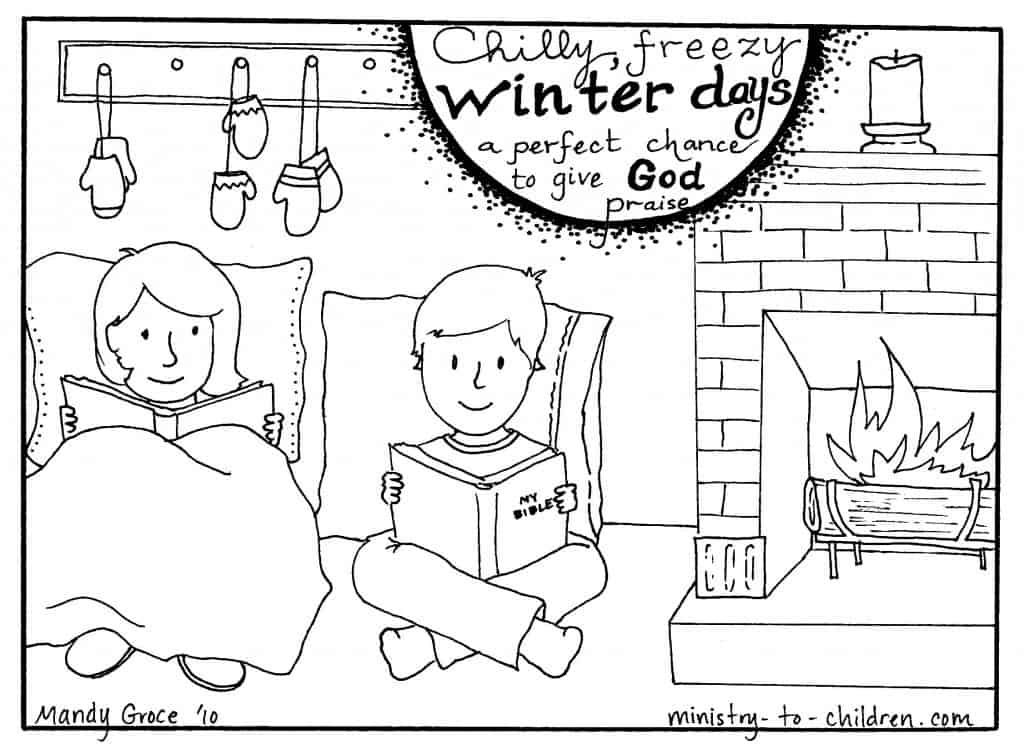
Try these fun Winter themed crafts in your Sunday School. What better way to enjoy the cold weather than to make some fun winter crafts! On those days when it’s snowy or just too cold to get outside, bring the fun in. The printable directions below include this page, the PDF templates, and a bonus coloring page.

Winter Craft ideas for Sunday School
Grab a cup of hot cocoa and try one of these fun, easy crafts.
Craft #1 – Snowy scene
Materials Needed: blue construction paper, white circle stickers, white paper, glue
Directions: Children place white circle stickers all over the blue paper to create a snowy scene. At the bottom of the page you can add blankets of snow by cutting pieces of white paper into curves and gluing them onto the blue paper. Simple, easy, and kids love it!
Craft #2 – Snowman
Materials Needed: snowman picture (we used the snowman to talk about circles), cotton balls, glue, markers or crayons, googly eyes, buttons — download snowman template
Directions: Cover the snowman template (bottom 2 circles) with the cotton balls. Using the markers or crayons, create the snowman’s face. You can also you googly eyes and buttons to create the face!
Craft #3 – Winter Tree Hand Print
Materials Needed: blue construction paper (we used light blue), brown paint, paintbrush, paper plate, sugar or silver glitter, glue, wipes (for cleaning hands) optional
Directions: Put some of the brown paint onto the paper plate. Using a paintbrush, paint the child’s hand and place it in the middle-upper portion of the paper. Use the paintbrush to paint a trunk that extends from the bottom of the child’s handprint to the bottom of the page. Once the paint is dry, spread some glue around the sides of the handprint and a little on the handprint. Next, sprinkle sugar or glitter (either works fine) onto the glue. This creates a snowy look to the winter tree!
Craft #4 – Cup of Hot Cocoa
Materials Needed: photocopy of mug, crayons, marshmallows, glue, hot chocolate mix — download cup template
Directions: have child color the mug. Spread glue near the top of the mug and sprinkle some of the hot chocolate mix. Let dry. Once glue/chocolate mix is dry, add a little more glue and put marshmallows on.
Craft #5 – Paper Snowflakes
Materials Needed: white copy paper, scissors
Directions: fold the paper in half. Find the middle of the paper and fold the left corner down to the middle forming a triangle. Fold the right side of the paper to the middle to form a second triangle (the two corners meet). Cut the bottom of the paper in an arc. Now you can begin cutting the paper to create the snowflake. You will cut away a lot of the paper. Have fun and be creative! After you have finished cutting, carefully open your paper to see what your snowflake looks like!

